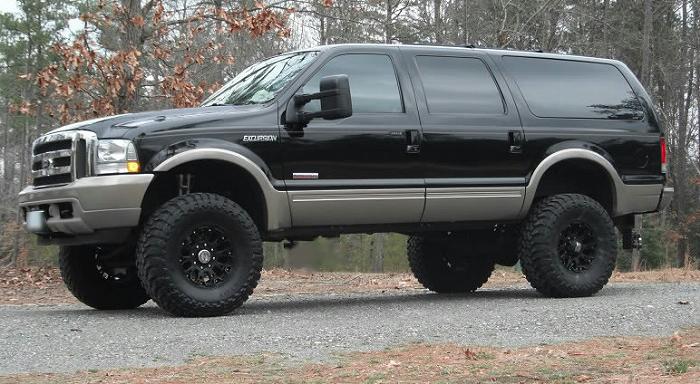
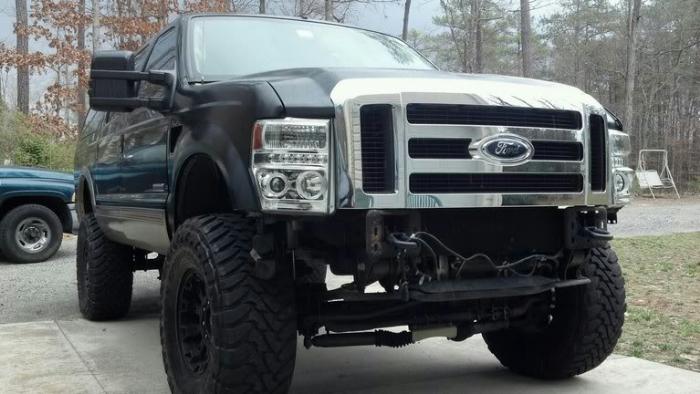
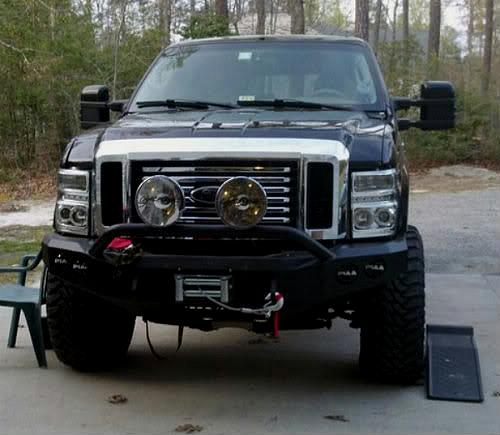
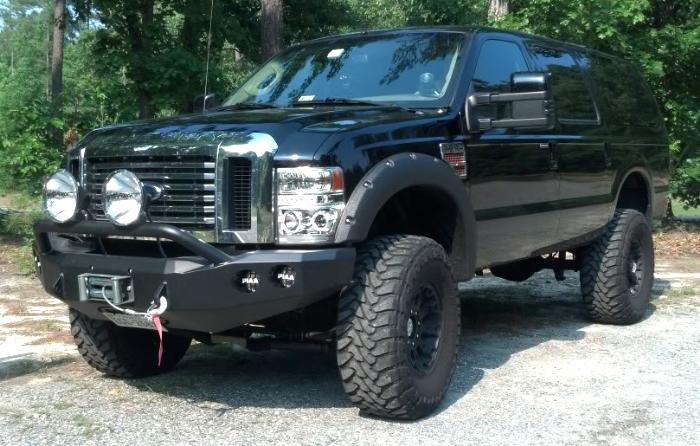
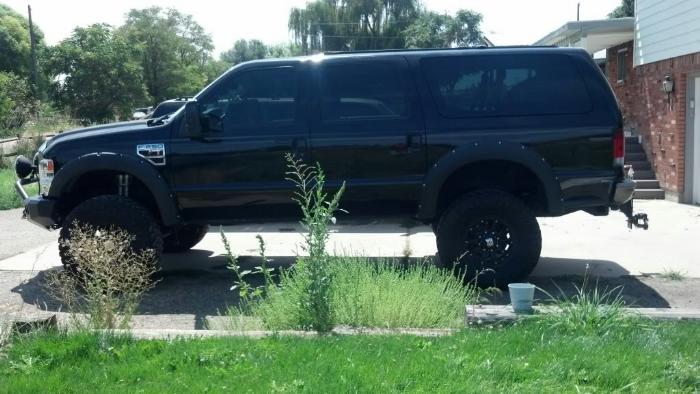
The Ford Excursion is the biggest and baddest SUV ever built. But unfortunately, it was only built from 1999-2005. Wouldn’t it be great to have a newer version? Wouldn’t it be great if you could update the look of your current Excursion?
Well, you can.
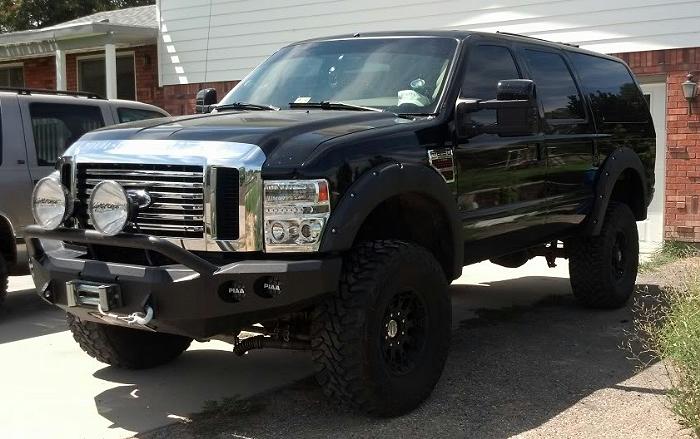
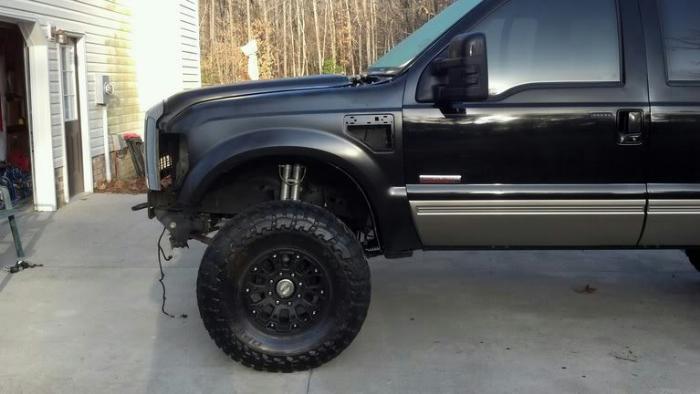
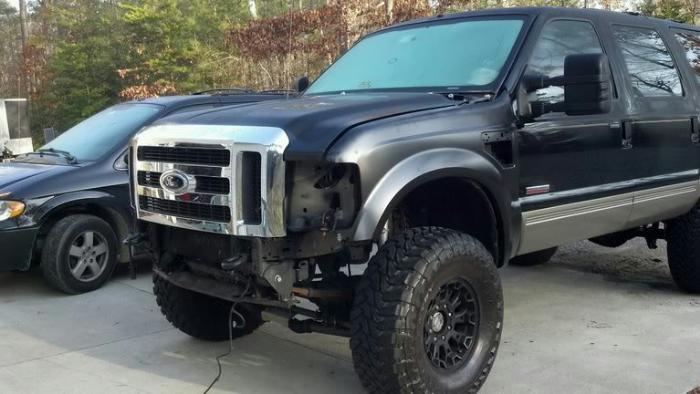
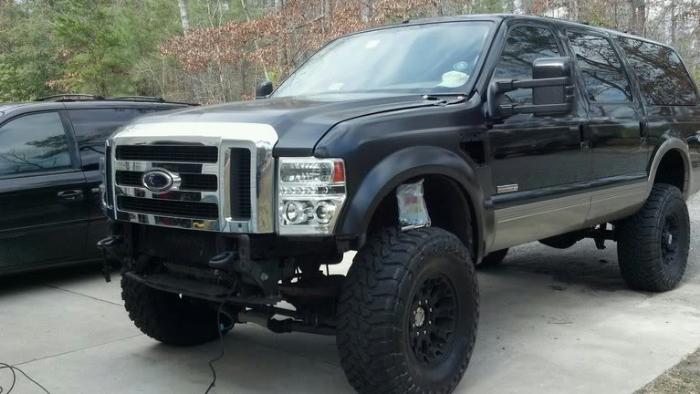
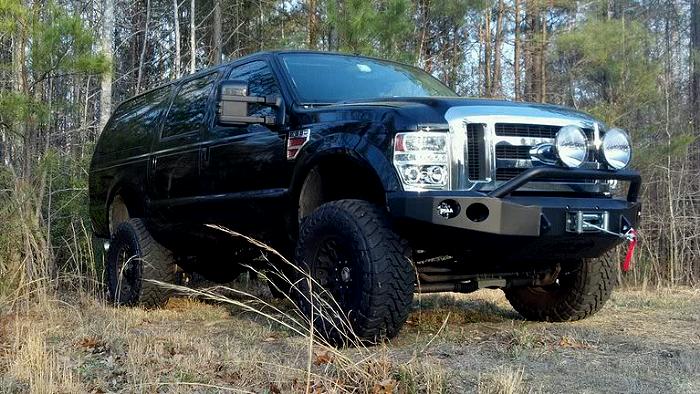
Ford-trucks.com forum member ‘archtaan’ set out to convert his 2004 Ford Excursion (Eddie Bauer) to a 2010 front clip. He had already swapped to a 2005 grill and 2010 mirrors, but wanted something newer.
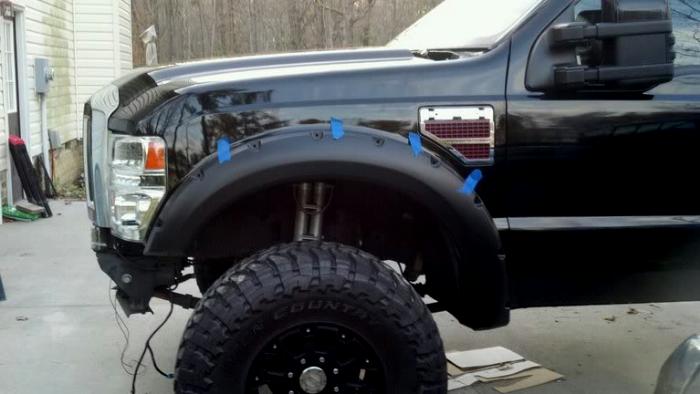
In addition to the front clip conversion, he also chose to add fender flares and try to make a 2008-2010 Road Armor winch bumper fit the 2004 front frame horns.
Ordering Parts:
Here is the parts list….. Please do yourself a favor and order them from one of our sponsors. Don’t scrimp on aftermarket sheetmetal. The 2008-2010 stuff requires massaging and tweaking to fit, I could not imagine what aftermarket would be like.
- Hood – Much heavier than the 2004 hood.
- Hood striker that mounts to the hood – U shaped
- Hood hinges
- Fenders
- Fender emblems (upper and lower, vent is two piece)
- Cowl panels (L&R, where the windshield wipers are)
- Grill – I went with the Chrome package grill
- Grill supports that bolt to the hood and grill bolts to it (these support the grill from moving horizontally when the hood is down) + hardware
- Hood striker for the latch + hardware
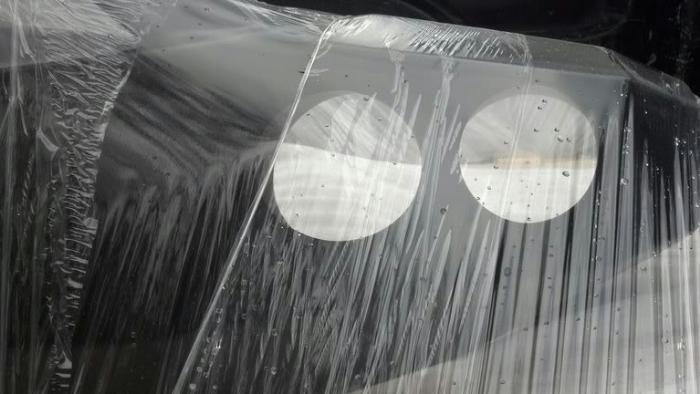
- Headlights (L&R) – you don’t need the header panel
- Head light plugs to adapt wiring. I just made my own
- Full front bumper with all the brackets (If you are going with a factory bumper)
- Windshield washer nozzles, and the plastic pins that help affix the grill to the hood
- Wiper motor – you can modify the earlier one but it’s a pain in my option
- Bumper
- Hood Hinges
- Hood release
- Secondary hood release cable assembly
- Hood bumpers
- Hood shocks
- Hood retaining bolts (4)
- Shock mounting bolts (2) – the shock attachment ***** are much larger
- Grill bolts, retaining hardware (7)
- Grill bumper (rubber bumpers prevent flexing in the wind)
- Complete set of inner fender retaining hardware (you can reuse some of your old stuff but you need all new push fasteners
- 2010 inner fenders (optional) – you can modify the existing ones. Its probably not worth it
Fenders:
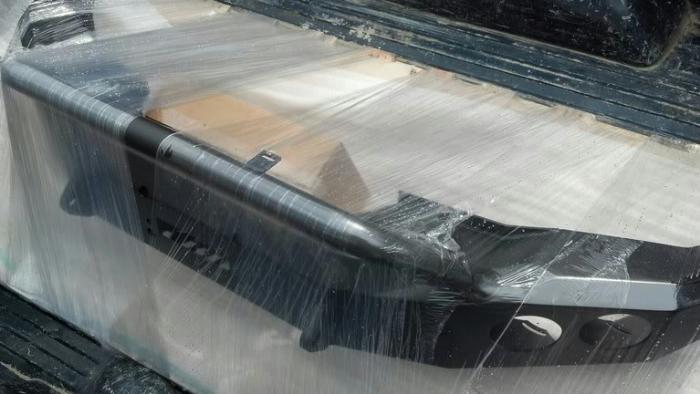
2008 Road Armor Stealth bumper with pre-runner guard. Going to add (2) Lightforce Blitz and (2) Light force Lancers w/ IR covers:
Pocket for (4) Piaa lights. Piaa’s are the only ones that will mount without modification:
Disassembly:
Disconnect battery (both if dual battery setup).
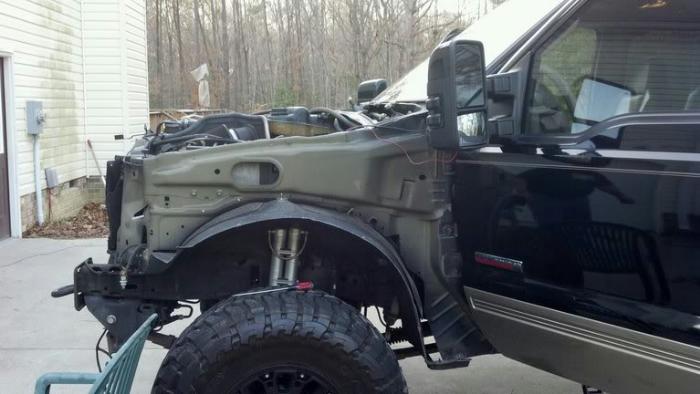
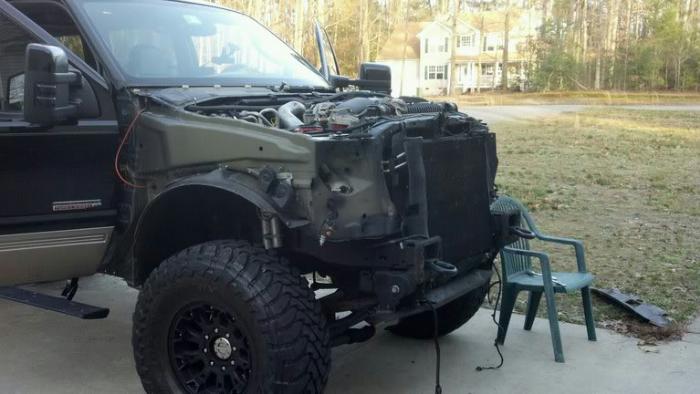
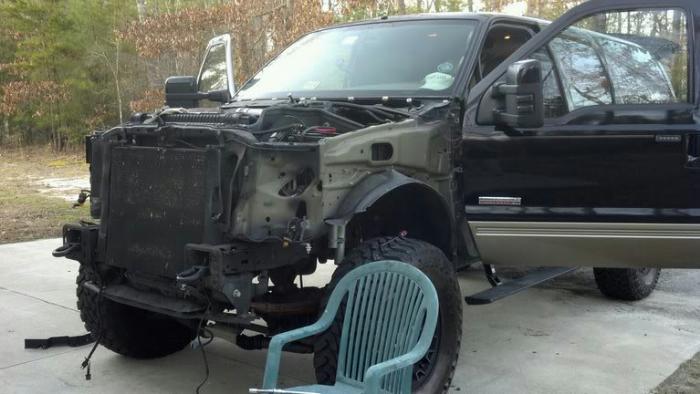
Remove the grill, fog lights and wiring connectors, both fenders, bumper, bumper supports, hood, disconnect windshield wiper hoses (The 2010 has them on the hood instead of the cowl), remove wipers, wiper motor, headlights, header panel, all rubber shielding, hood release, hood struts, hood hinges. Tow hooks. Teardown is pretty straight forward.
Sheetmetal Install / Mockup:
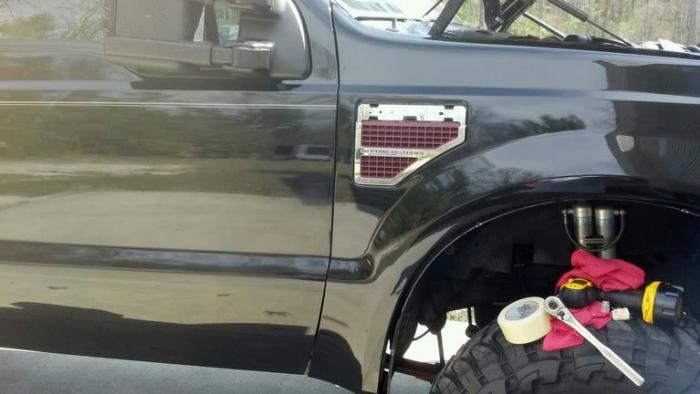
Once all the original factory front parts are removed, fit the 2010 fenders on first. You will need to cut the factory mounting tabs on the back side of the fender near the door edge. It’s the middle tab. It gets in the way with the body tabs already there. These tabs push the fender out too far. Also, the horn is behind the passenger fender. It will need to be relocated to where the window washer bottle is inside the inner structure. It’s too wide for the new fenders. You disconnect the factory wiring harness, relocate it and plug it in. I attached it to the inner fender with a few sheetmetal screws. It’s a tight fit with the washer bottle there, but it does fit.
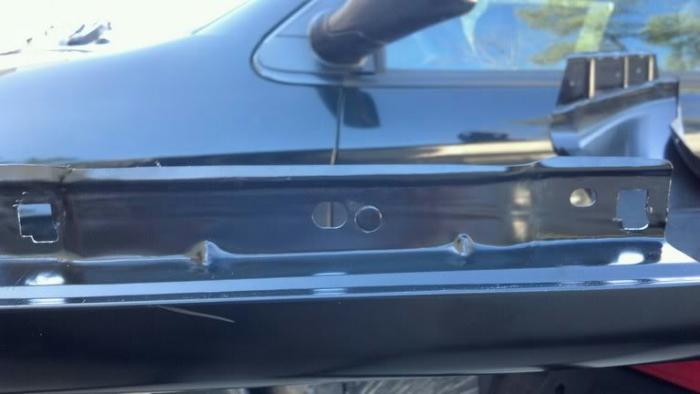
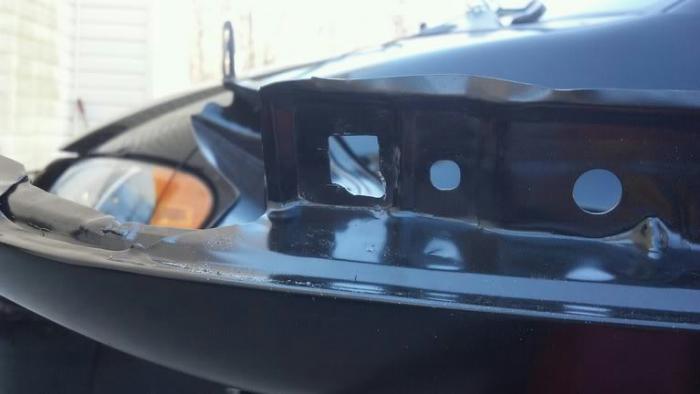
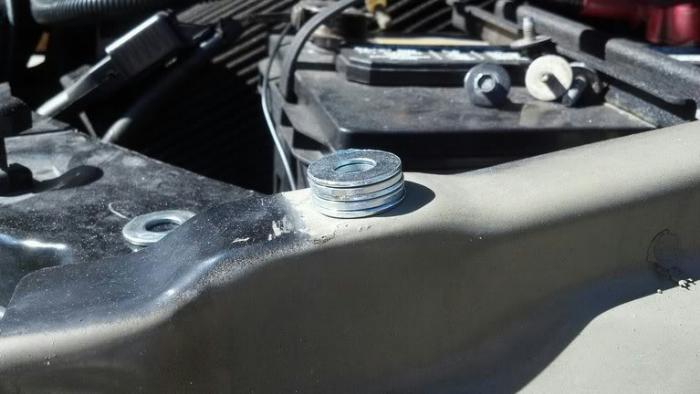
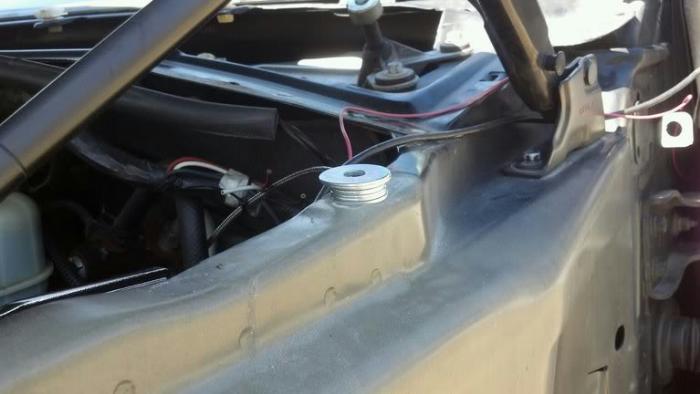
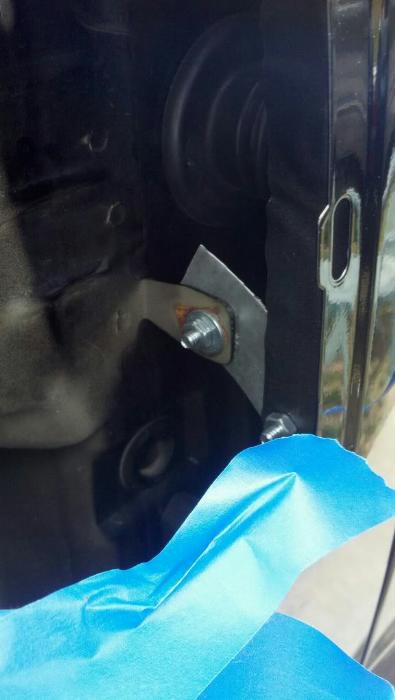
You’ll need to make a couple of the top fender bolt holes larger to allow more movement/adjustment left/right/front/back. Fit the fender to the door and then go forward. The lower bolt hole stays the same but required 3/4″ worth of shims. You will need to make one mounting plate/bracket to screw to the fender, then the plate will bolt to the truck’s mounting tab. The new fenders mount much higher in the front near the cowl support, and will require spacers to fit. You also need to trim the factory sheetmetal mounting holes, and use larger washers to cover up some of the cutting. I pre-fabbed all the tabs and holes prior to paint.
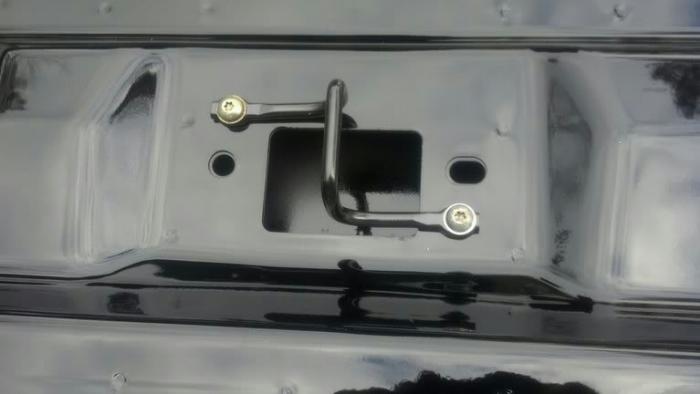
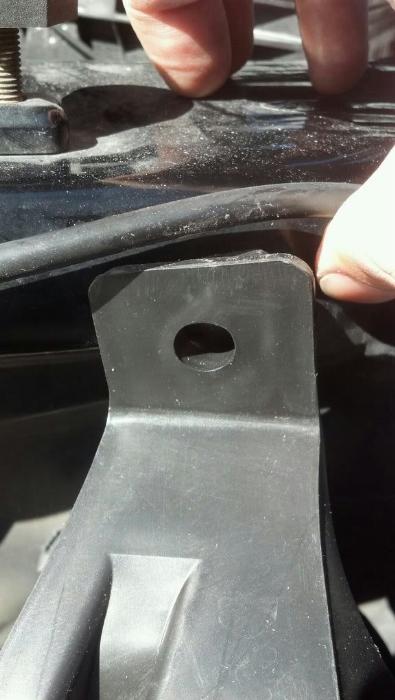
Here are two photos of the holes. Notice the square holes at both ends are notched.
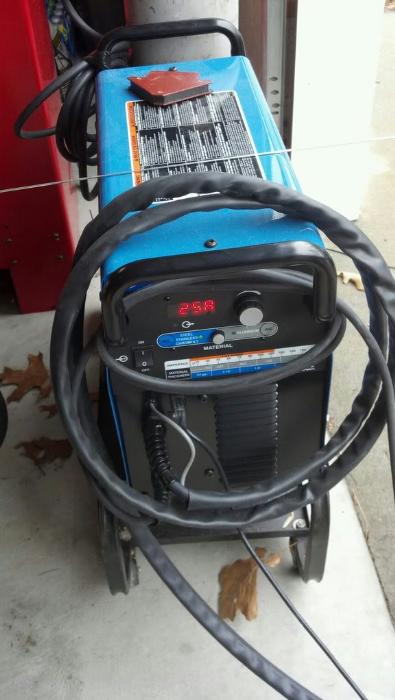
Miller Diversion Tig welder. I used this to make all the brackets and tabs.
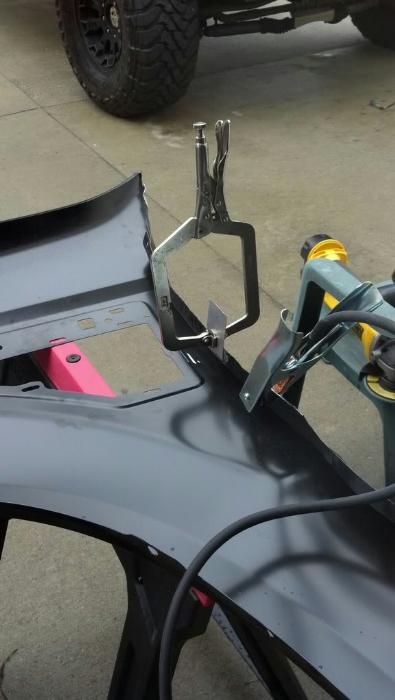
This tab is needed to secure the fender in the centerline. After tigging (welding) it in, you need to test fit it and make an adjustment hole. I used a step bit and a Dremel to get it right. Large washers are your friend.
This gives you an idea of how much higher the fenders sit.
Front near cowl:
Rear most vertical bolt:
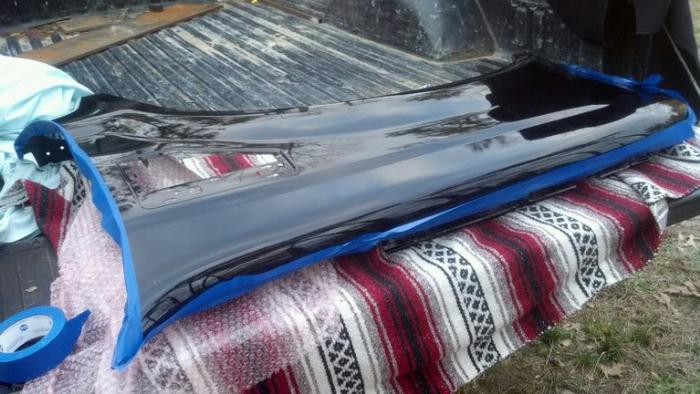
OK, fenders and hood back from paint. Nothing fancy.
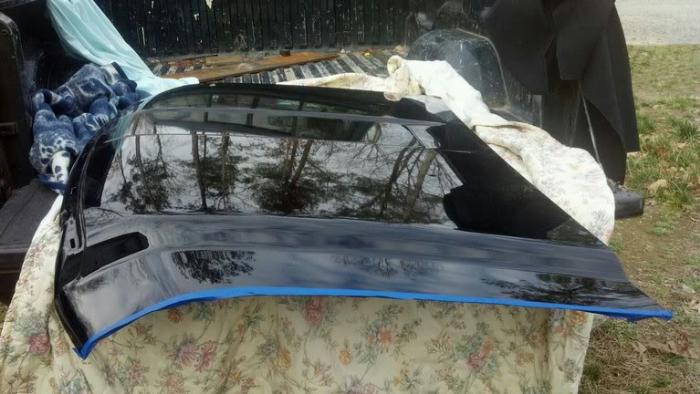
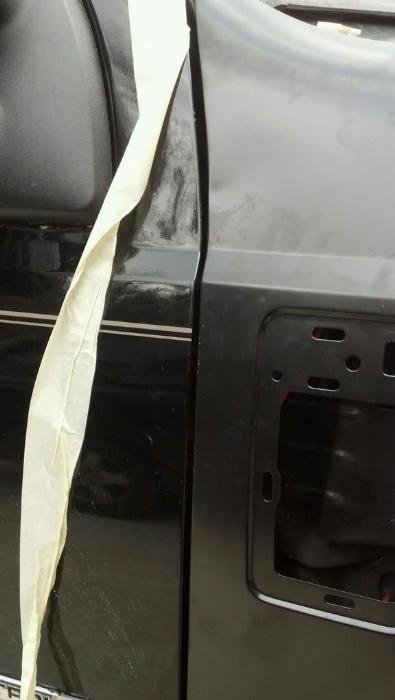
Hood – be sure to tape all your edges. Also, run a tap through the bolt holes. The hood is a minimum (2) person job. It’s twice as heavy as the 2004 hood, and even worse with the grill and supports on it.
Mount the hood latch. I used Loctite, but may not be necessary.
Now the Fenders – Don’t mount the grill inserts yet!!!! You need to get your hand in there to tighten the bolts for the custom tab!
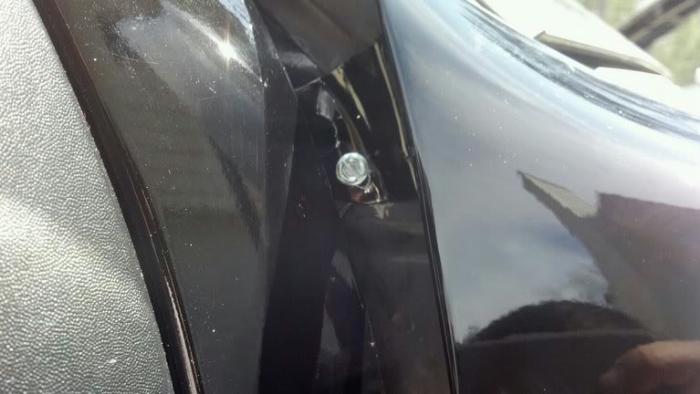
This sheet metal screw goes through the top factory bracket to secure the fender to the a-pillar area. You mount it by opening the door and coming at it from the side. Pre drill the hole! Don’t go crazy and push through and dent your fenders! A really long drill bit helps here a lot!
This is the tab you have to make. This was painted when the fenders were painted at the shop. This is a mock-up photo:
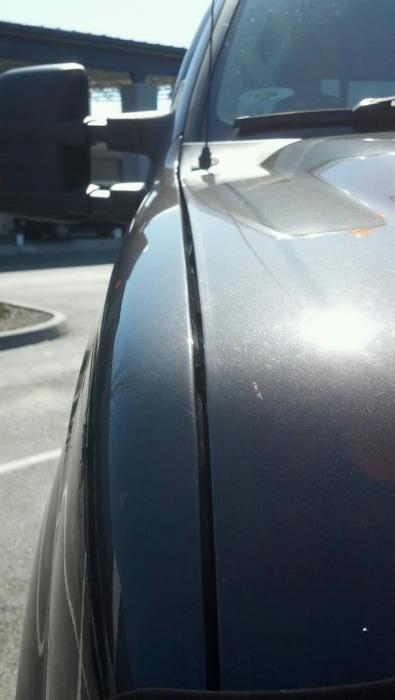
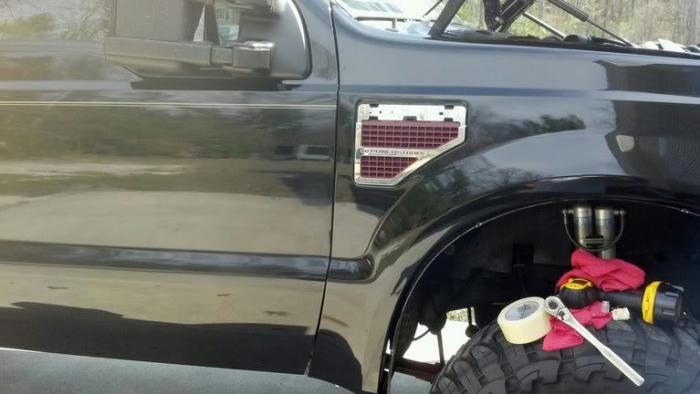
Lines are looking pretty! Note the 2-piece fender emblem. It is easy to install and remove without the top piece attached. You have to mount this part after you reach in and tighten down the tab bolt. The fender looses its bow so to speak with this in, it is semi-structural in a way I guess.
You will need to massage the panel into place and probably remove and reinstall it several times to get it right.
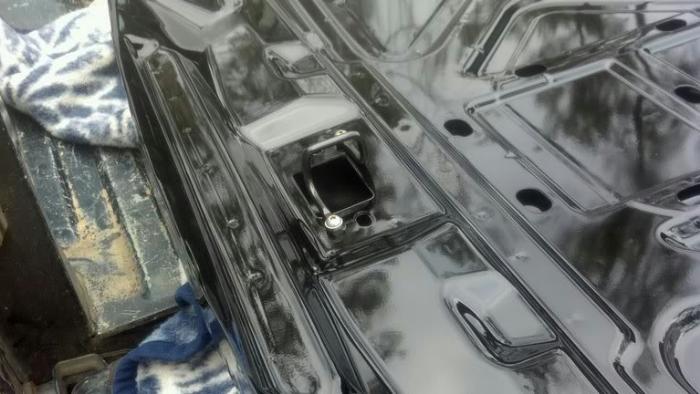
You need the vents out to get your hand in there to tighten the bolt.
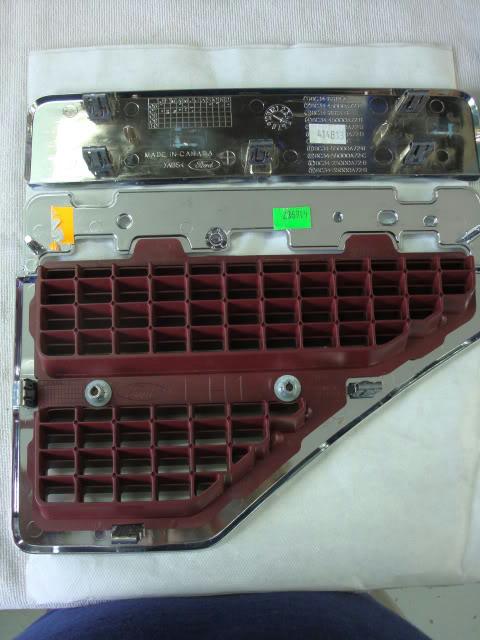
Here is a backside photo of the fender vents:
Since the top part is removable, I plan on getting a custom one made with the Excursion logo. Just need to get around to having it done. I have F250 ones right now. The bottom portions won’t stay in securely without the top portion, and both are needed to add rigidity to the fender.
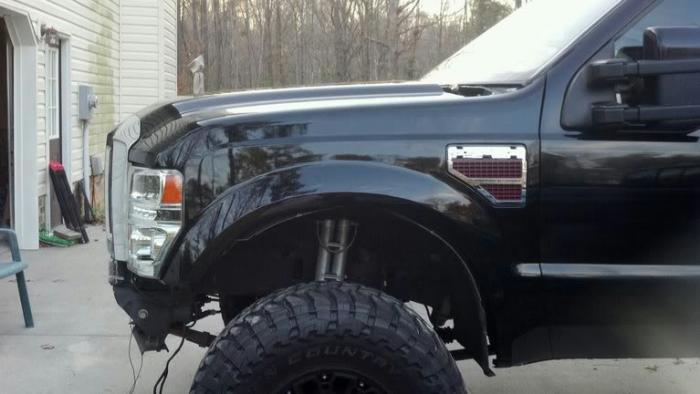
The grill, fenders, and hood are on.
Note – These photos are all pre-paint. I mocked everything up to make sure all the adjustment slots, shims, etc were good to go.
The hood is simple. Bolt it up to the hinges which have the new struts attached. Don’t tighten it all down until after you get the fenders pretty much squared away. I had to shim under the drivers side hinge to get the height right. Once you have all your lines pretty and even, start tightening it all down.
You have to use the 2008 struts, and you will need the 2008 fender strut ball as well, since the attachment point is larger. The 2004 struts were too weak to hold up the heavier hood. The hinges can be reused.
The grill is easy to install. The grill has vertical tabs that fit into holes in the leading edge of the hood. Snap it in. You will the mount the (7) upper attachment nuts. After that bolt, the (2) vertical grill supports using m10 fasteners. Finally install the Hood bumpers and the grill bumpers. Adjust as necessary.
Now the fun begins…..
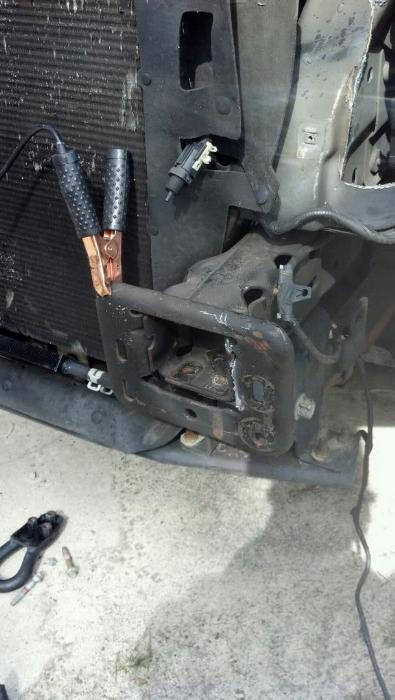
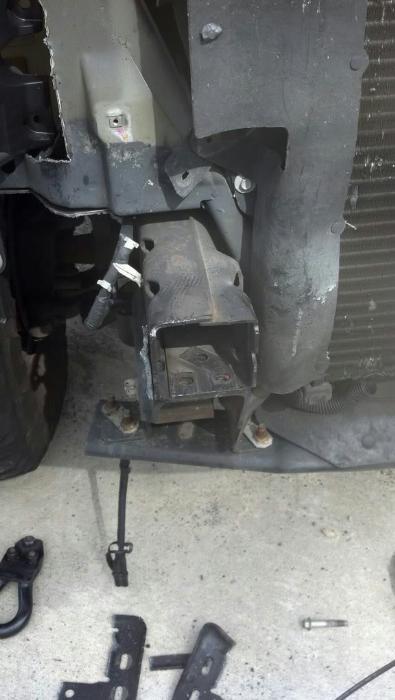
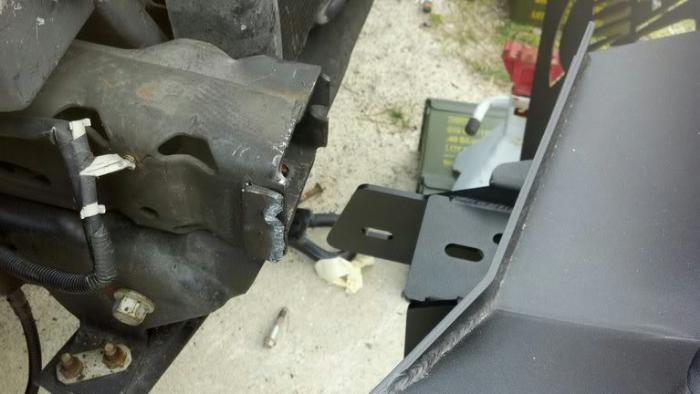
You will notice in the photo above that the 2004 frame horns are in the way of the grill, and do not allow the hood to close all the way. They have to go. The 2008-2010 front frame bends downward in the front and is about 9-inches lower than the 2004. Not a hard fix. You need a plasma cutter. (A cutoff tool, Oxy/ace torch will work too…)
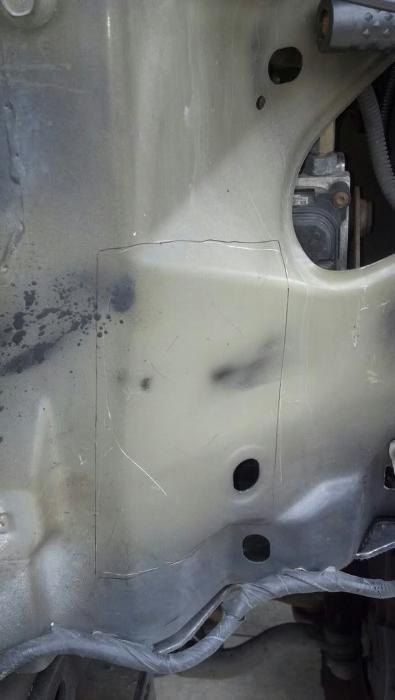
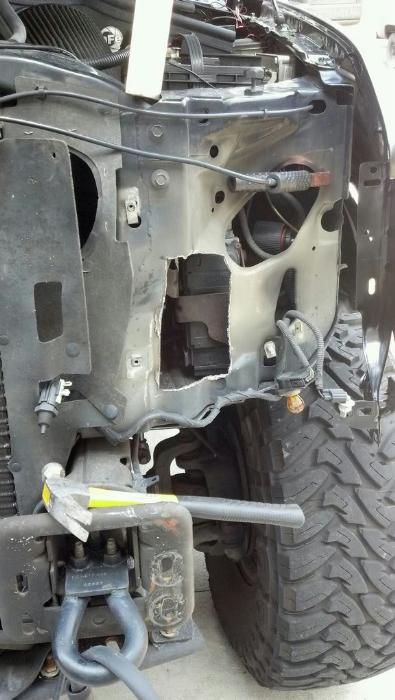
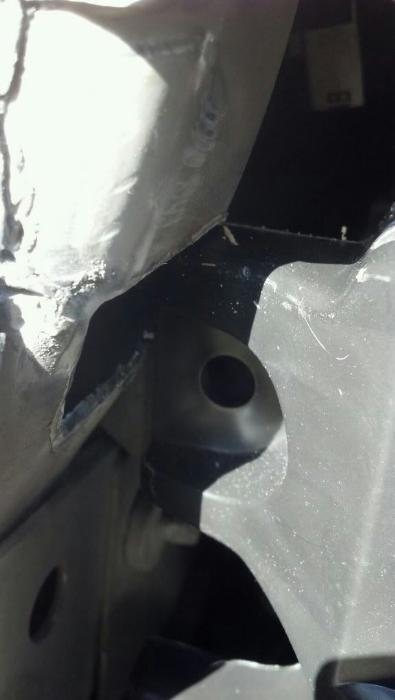
While the torch is hot (or you can use a cut off wheel), you might as well make your clearance cuts for the headlights. Make sure you know what is behind before you cut!!!!
Here is an idea of what has to go:
Here you can see another cut needed for headlights. Again, be careful what is behind where you are cutting.
Once the cutting is done, clean up your edges and apply some paint to protect them from rust.
The top tab of the headlight will need to be bolted to the core support. Mock it up, drill a hole, and attach the bolt.
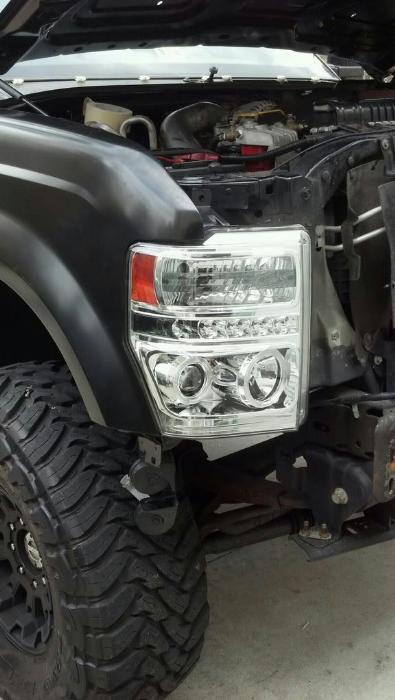
The headlight just pushes into the tabs in the fender. The lights want to push the outside edge of the fender in, so I used threaded rod to support the front of the fender to the inner fender. If you are using a factory 2008 bumper, it will have the needed brackets to attach everything.
Here’s the front clip all mounted up without the bumpers. You can see where the factory frame horns get in the way during mock up, and how the headlights bow out the fenders. Prior to threaded rod.
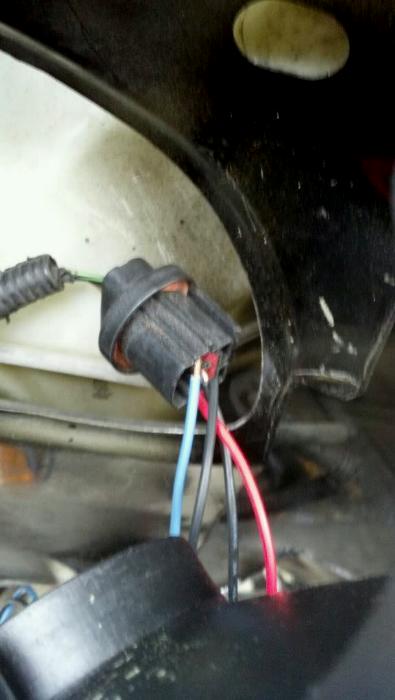
Wiring was pretty easy. Black to Black and Black (one ground is high / one ground is low) Blue to low, and Red to high beam. The marker bulb and turn signals simply mounted in, no modifications required.
After paint and frame horns cut off.
I also pulled all the Trim off as well.
You have to make some mounts to get the front of the fenders to pull back in and line everything back up. I used threaded rod.
Bumper Time:
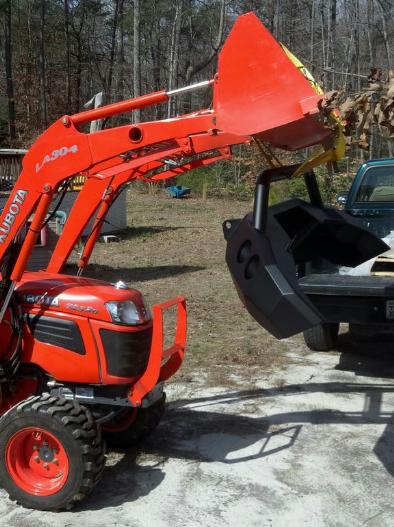
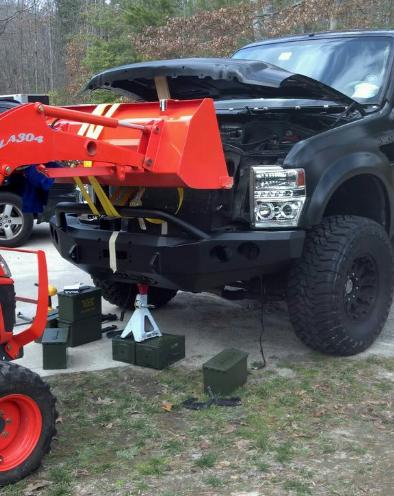
Ok, this sucker is heavy, and takes at least (3) people to put into position.
My application required some heavy customizing.
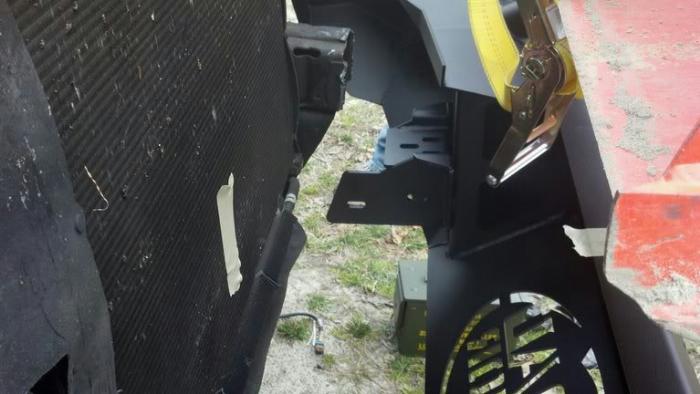
A 12×6 plate of 500 Brinnell armor plate steel was welded vertically flush to the frame horn. Triangulated braces were then cut and welded to the lower blocker bar and frame area. (4) bolt holes were drilled, 3-inch DOM steel tube spacers were cut, and Grade 8 hardware was used to mount her all up. I also pre-mounted the winch and (1) set of the PIAA’s. The other set was back ordered.
I still need to mount the cowl panels, mess with the inner fender liners, and the other (2) tabs for the other two light force lights.
The fender liners can be massaged into place with a heat gun. You can see here where they are not attached since they are shorter than the 2008 style.
So here is where we are so far. You can see why fender covers are needed:
Fender Flares:
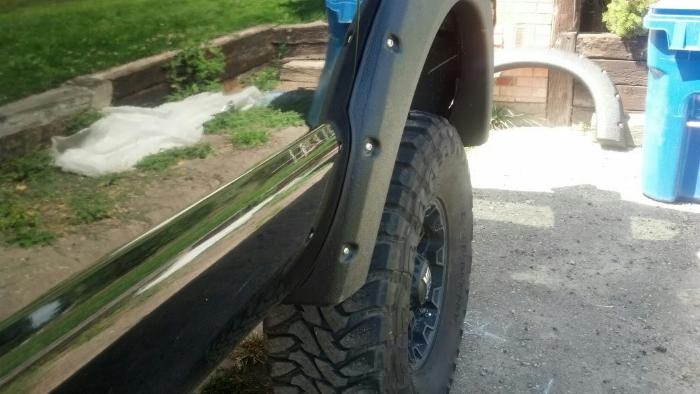
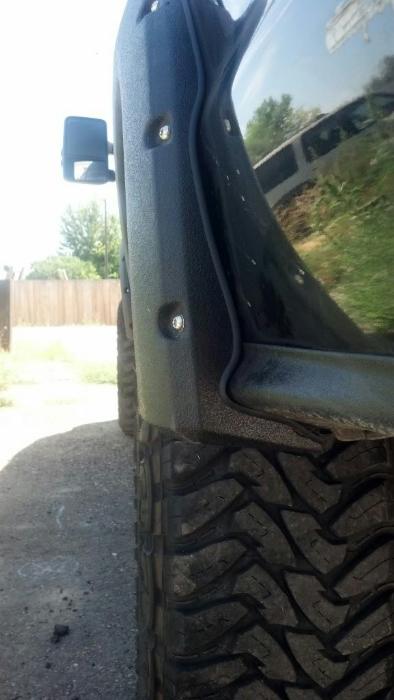
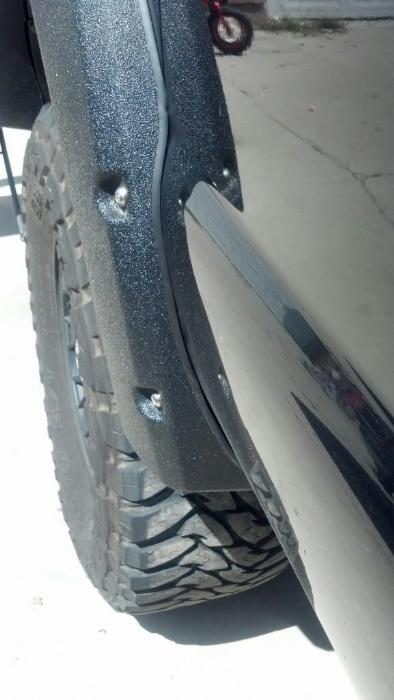
Laying out the Bushwacker Fender Flares. This is a 2008-2010 Flare. The fenders and stone guards were Line-X’d. Cost was $100.00 locally.
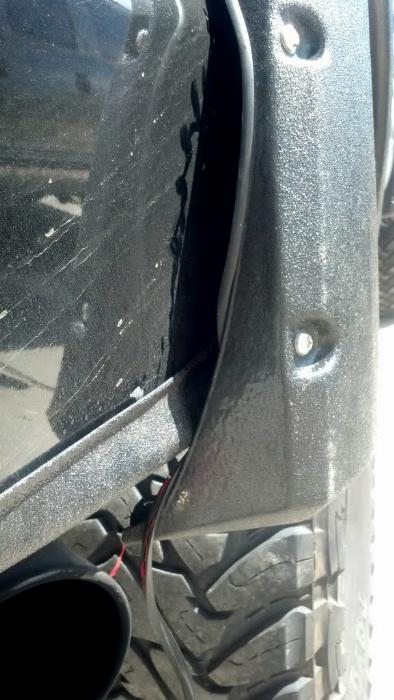
The front is pretty much a bolt on deal. The extra bolts also help keep the inner liner in place.
The rears are a much different story.
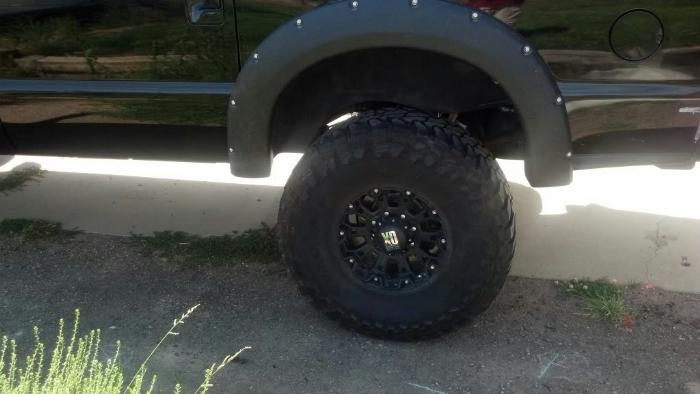
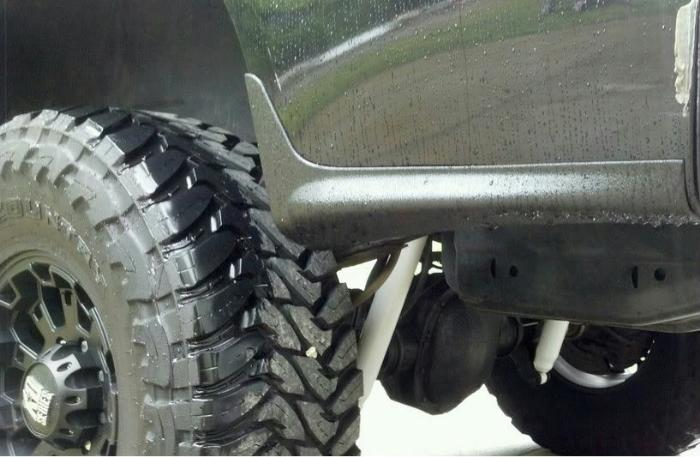
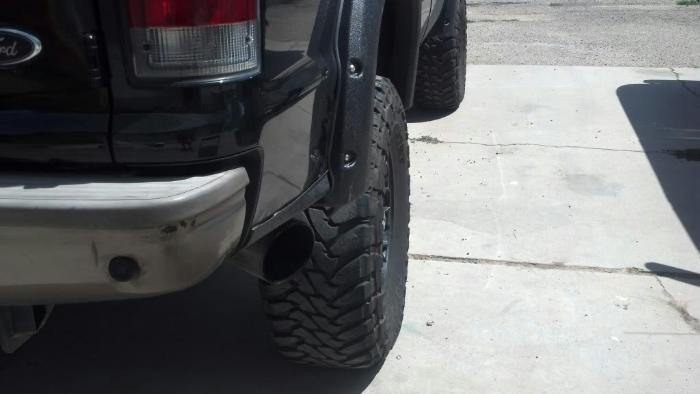
Since rears are not made for the Excursion, you have to get the 1999-2005 Superduty flares. Here is the problem:
The flare covers the door and doesn’t fit the rear contour correctly. The answer for me was to vertically trim the flare matching the door line, and then filling the inside of the pieces with fiberglass since they are hollow.
Before:
After:
Resource:

